animatographystudio.com

Slide Background
01. Slide Background
Every slide includes a background, which can be a picture or solid color.
Step 1

To change the background click on the label bar and in the layer window select the style tab.

Step 2

Choose a source from the background top tab then upload an image or pick a background color.

Build & Design
02. Build & Design
Build any layout with layers and customize your designs limitlessly.
Step 1

To add a layer, click the green plus button in the left sidebar and select the type of layer.

Step 2

Select any layer and you can edit its content and style properties in the layer window.

Our Z Brush Sculpting Program

Become a Z Brush Expert

What Animatography Studio can do for you?

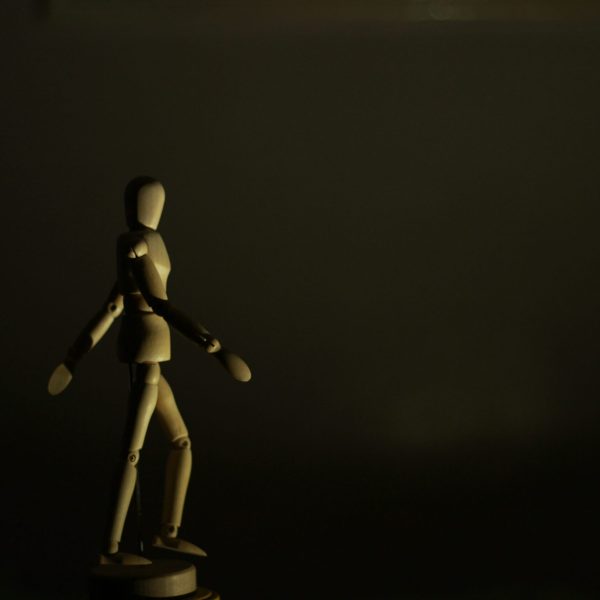
Starting out as an animator with Animation Mentor isn’t just about nailing down animation techniques; it’s like diving into this awesome adventure where your imagination gets to play hero and your skills level up with every step. Picture this: you, fueled by determination and backed by seasoned mentors, bringing characters and worlds to life with each doodle and click.

Animation Mentor isn’t just a school; it’s a hangout for cool artists like you, all sharing stories and striving to tell tales through movement. So, dream big, create bigger, and let Animation Mentor be your ride-or-die partner on this wild journey to animation greatness.

This field is required.
Course
This field is required.

Master Digital Sculpting for Characters & Creatures with ZBrush

Program Overview

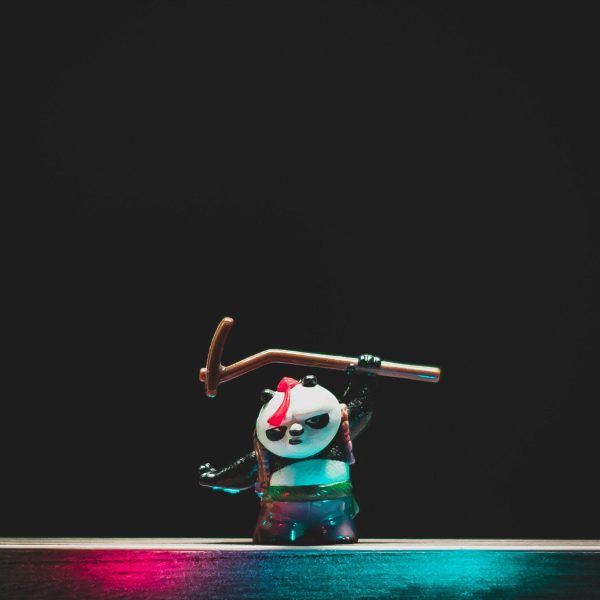
This 4-month online ZBrush Sculpting program is designed for aspiring 3D artists who want to create high-detail characters, creatures, and props for games, films, and collectibles. Learn to sculpt from basic forms to production-ready models using ZBrush, with workflows for anatomy, hard surface sculpting, detailing, and retopology.

Basic Level (Month 1):
Sculpting Foundations

  1. ZBrush Interface & Navigation (Week 1)
    – Understanding brushes, UI customization
    – Dynamesh, Subtools, and project setup
  2. Blocking Basic Forms (Week 2)
    – Using primitives and ZSpheres
    – Silhouette and volume building
  3. Sculpting Human Anatomy Basics (Week 3–4)
    – Head, torso, arms, legs
    – Muscle groups and surface landmarks

Intermediate Level (Month 2–3):
Detailing & Complex Forms

  1. Sculpting Stylized & Realistic Heads (Week 5–6)
    – Facial proportions, expressions
    – Eyes, ears, nose, and mouth detailing
  2. Creature & Character Design (Week 7–8)
    – Fantasy anatomy, horns, tails, claws
    – Exaggerated features and silhouettes
  3. Hard Surface Sculpting Techniques (Week 9–10)
    – Panel cuts, mechanical shapes
    – Insert Mesh, Live Boolean, polish workflows
  4. Surface Detailing & Texturing (Week 11–12)
    – Alphas, noise maker, custom brushes
    – Skin pores, wrinkles, fabric textures

Advanced Level (Month 4):
Polish, Retopo & Portfolio

  1. Retopology & Projection (Week 13)
    – ZRemesher, manual retopo basics
    – Projection and subdivision setup
  2. Polypainting & Color Concepts (Week 14)
    – Painting inside ZBrush
    – Preparing texture maps for rendering
  3. Rendering & Presentation (Week 15)
    – BPR render settings, lighting setup
    – Compositing renders in Photoshop
  4. Final Sculpt & Portfolio Showcase (Week 16)
    – Create a detailed hero character or creature
    – Turntable video and presentation sheets

Final Deliverables

  • One fully detailed Human or Creature Sculpt
  • Anatomy Study Sheets
  • Hard Surface Prop or Accessory
  • High-Res Rendered Images
  • ZBrush Sculpting Portfolio + Turntable Presentation
Scroll to Top